


The Critical Role of Design Visualization in Custom Signage

In custom sign manufacturing, the design approval and proofing stage is the single most important checkpoint for ensuring the final sign matches the buyer’s expectations and avoiding costly production errors, rework, and delays. Traditional 2D design proofs—flat drawings, dimensioned sketches, and simple color mockups—provide essential technical information but often fail to convey the full visual impact of a three-dimensional sign, particularly for complex signs such as channel letters, pylon signs, monument signs, illuminated signs, or signs installed on specific building facades. A buyer may approve a 2D proof only to be disappointed when the finished sign is installed, discovering that the proportions are wrong, the color looks different in real life, the illumination effect is not as expected, or the sign does not complement the building architecture as envisioned. These disappointments can result in costly rework, delays, disputes, and damaged business relationships.
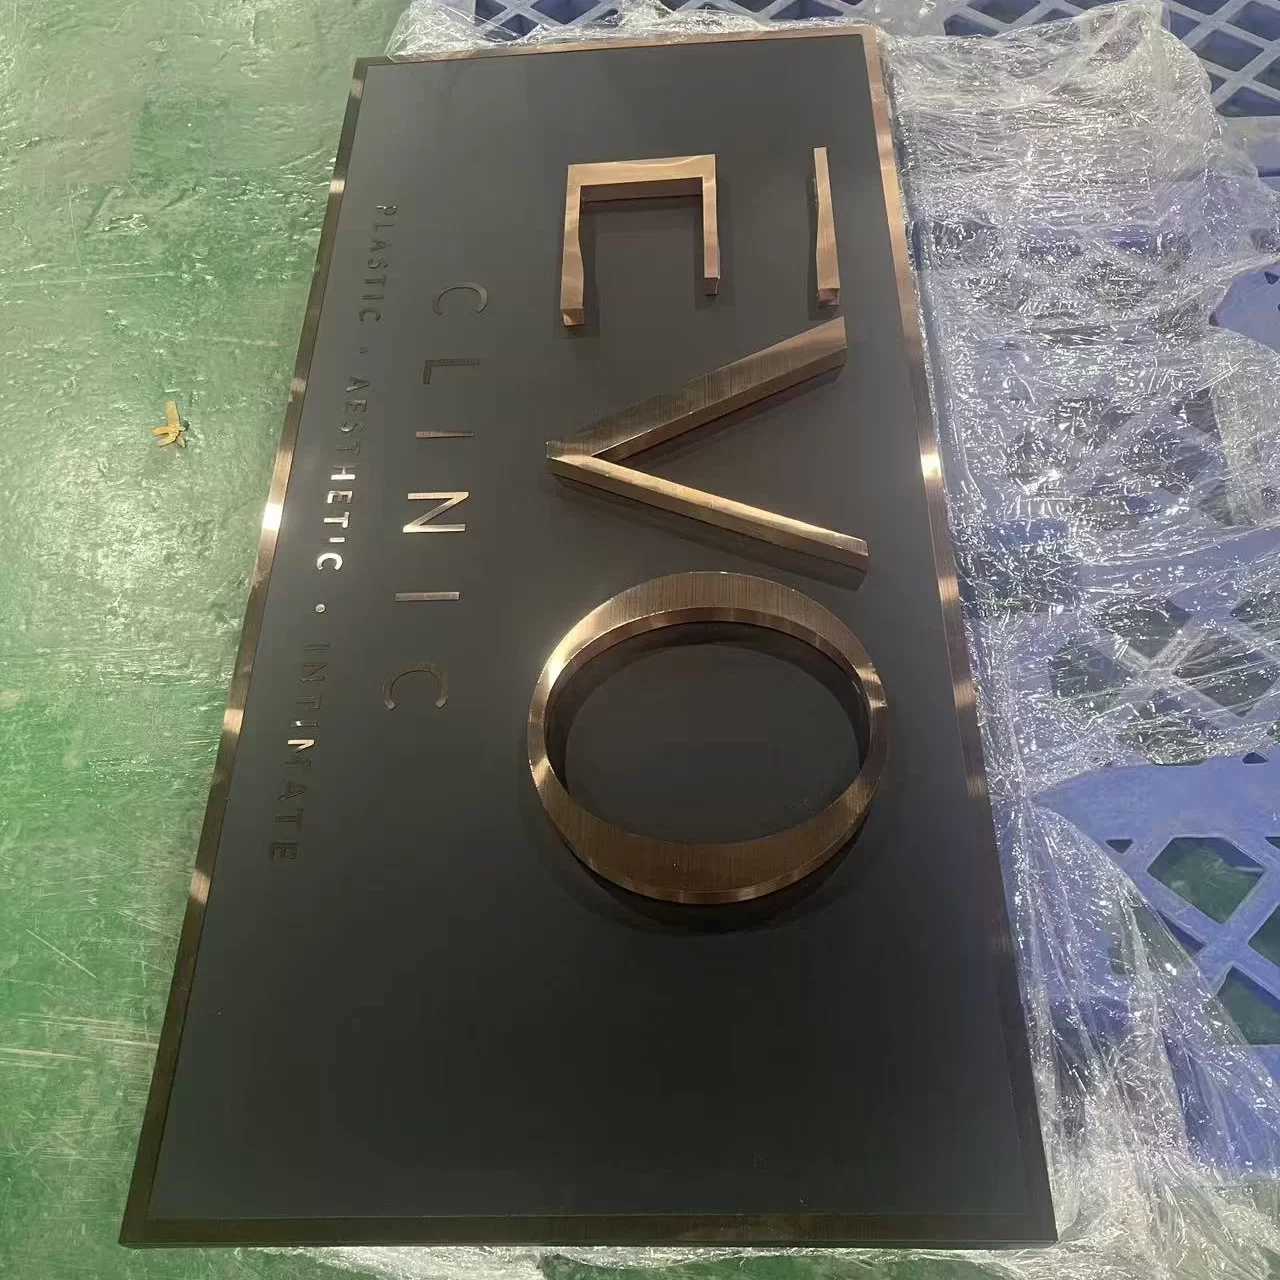
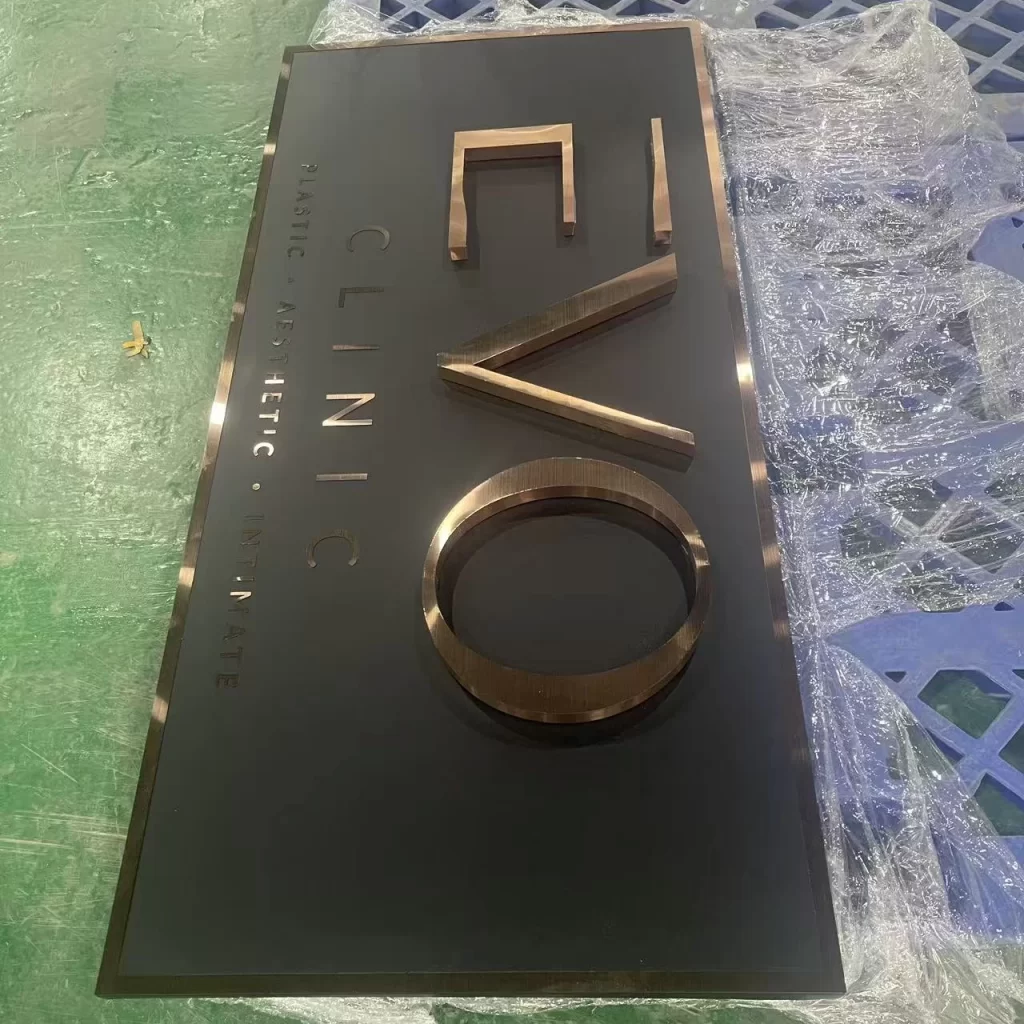
3D sign rendering and design visualization solve this problem by creating photorealistic, three-dimensional images of the proposed sign, showing exactly how it will look in its intended environment—on the building facade, in the lobby, on a monument structure, illuminated at night, viewed from different angles and distances. 3D renderings allow buyers, designers, architects, and other stakeholders to visualize the sign before production begins, identify potential issues or design changes early, and make informed decisions with confidence. By catching errors and design changes at the rendering stage (before any materials are cut or fabricated), 3D visualization prevents costly production errors, reduces rework and delays, and ensures the final sign matches the buyer’s expectations when installed.
This guide provides a comprehensive overview of 3D sign rendering and design proofs, covering the different types of 3D renderings and proofs available, how they are created, their benefits for preventing production errors and streamlining approval, best practices for using 3D visualization in custom signage projects, and how to work with a sign manufacturer or designer to create effective 3D renderings for your project. Whether you are purchasing a simple storefront sign or a complex multi-signage program for a new building, this guide will help you understand how 3D design visualization can save you time, money, and frustration by ensuring the final sign is exactly what you envisioned.
Types of Sign Design Proofs and Renderings
Sign design proofs and renderings come in several types, each offering different levels of detail, realism, and interactivity, and each suited to different stages of the design and approval process. Understanding the different types of proofs and renderings helps you choose the right level of visualization for your specific project, budget, and approval needs.
1. 2D Design Proofs (Technical Drawings and Mockups)
2D design proofs are the traditional, most basic type of sign proof, consisting of flat, two-dimensional drawings or mockups showing the sign design, dimensions, colors, materials, and layout. 2D proofs typically include:
- Dimensioned technical drawings: Scale drawings showing the sign’s overall dimensions, letter heights, stroke widths, material callouts, mounting details, and other technical specifications. Dimensioned drawings are essential for fabrication and ensuring the sign meets size and proportion requirements.
- Color mockups: Flat, colored representations of the sign design showing the proposed colors, materials, and finishes (e.g., brushed aluminum, red acrylic, black powder coating). Color mockups help buyers visualize the sign’s color scheme but do not convey the 3D appearance, texture, or illumination effect.
- Elevation drawings: Drawings showing the sign as viewed from the front (elevation), with dimensions and material callouts. Elevation drawings are useful for understanding the sign’s front appearance but do not show depth, side views, or how the sign will look installed on a building.
Advantages of 2D proofs: Fast and inexpensive to produce; provide essential technical information for fabrication; easy to annotate and revise; suitable for simple, standard sign designs where the buyer has a clear understanding of the final appearance.
Limitations of 2D proofs: Do not convey the 3D appearance, depth, or texture of the sign; do not show how the sign will look installed on a specific building or in its intended environment; do not accurately represent illumination effects (front-lit, backlit/halo-lit, edge-lit); may lead to misunderstandings or disappointments if the buyer cannot visualize the final 3D result from a 2D drawing; not sufficient for complex, custom, or high-value signs where visualizing the final appearance is critical.
2. 3D Renderings (Photorealistic Static Images)
3D renderings are photorealistic, three-dimensional images of the proposed sign, created using 3D modeling and rendering software. 3D renderings show the sign from one or more viewpoints (front, side, perspective, close-up), with realistic materials, textures, lighting, shadows, and reflections, providing a highly accurate representation of how the final sign will look. 3D renderings may be created as standalone images (showing the sign against a neutral background) or as contextual renderings (showing the sign installed on a specific building or in its intended environment, using a photograph of the building as the background).
Advantages of 3D renderings:
- Highly realistic, photorealistic representation of the final sign, including 3D depth, materials, textures, lighting, shadows, and reflections
- Can show the sign from multiple viewpoints (front, side, perspective, close-up, aerial) to provide a comprehensive understanding of the sign’s appearance
- Can accurately represent illumination effects (front-lit, backlit/halo-lit, edge-lit, RGB color-changing), showing how the sign will look both day and night
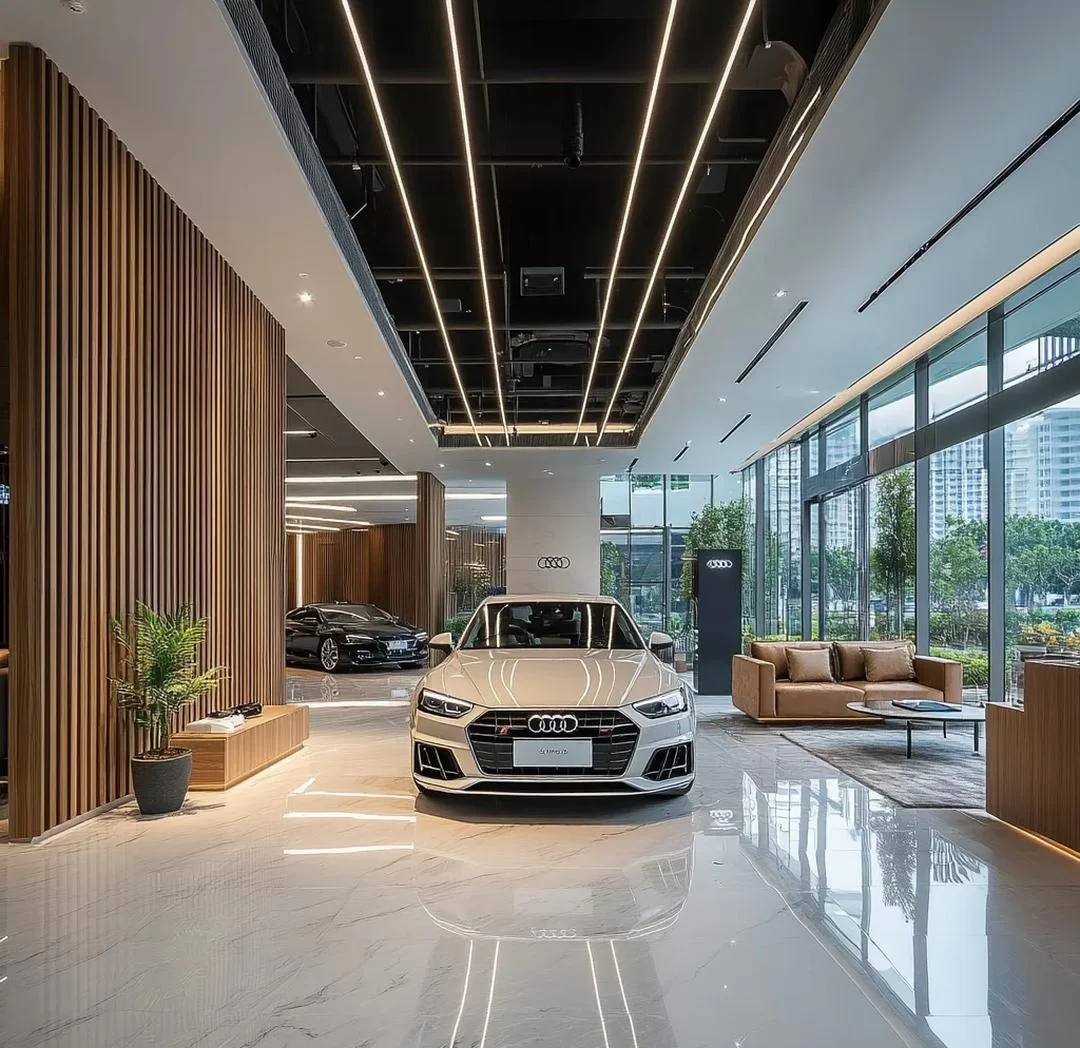
- Can be placed in context (on a specific building facade, in a lobby, on a monument structure) to show how the sign will look in its intended environment, helping buyers visualize the final result and identify potential design or compatibility issues
- Helps prevent costly production errors by allowing buyers to identify design changes or issues before production begins, when changes are fast and inexpensive to make
- Useful for obtaining approval from stakeholders (building owners, landlords, design review boards, historic preservation commissions) who may have difficulty visualizing the sign from 2D drawings
- Can be used for marketing and promotional purposes (e.g., showing a proposed sign to investors, tenants, or customers before it is installed)
Limitations of 3D renderings:
- More time-consuming and expensive to produce than 2D proofs (typically 2–5 hours of design time for a standard rendering, more for complex or contextual renderings)
- Static images (showing the sign from a fixed viewpoint); to see the sign from different angles or with different options, multiple renderings must be created
- May not perfectly match the final sign (materials, colors, and illumination in a rendering are approximations; the physical sign may look slightly different due to material variations, lighting conditions, or fabrication limitations)
- Requires skilled 3D designers with experience in sign design and rendering software (not all sign manufacturers offer high-quality 3D rendering services)
- May be overkill for very simple, standard sign designs where the buyer has a clear understanding of the final appearance and 2D proofs are sufficient
3. Contextual Renderings (Photo Composites / Site-Specific Mockups)
Contextual renderings (also called photo composites or site-specific mockups) are 3D renderings that are placed into a photograph of the actual building or site where the sign will be installed, creating a photorealistic image showing exactly how the sign will look in its intended location. Contextual renderings are created by taking a photograph of the building/site from the desired viewpoint, then using 3D modeling and image editing software to place the 3D sign model into the photograph, matching the perspective, lighting, shadows, and scale of the original photograph. Contextual renderings are the most realistic and informative type of sign proof, as they show the sign in its actual environment, allowing buyers to assess how the sign complements the building architecture, how visible it is from the road or sidewalk, and whether it complies with local sign regulations (size, height, setback).
Advantages of contextual renderings:
- Most realistic and informative type of sign proof, showing the sign in its actual environment (on the specific building facade, in the lobby, on the monument structure) with accurate scale, perspective, lighting, and shadows
- Allows buyers to assess how the sign complements the building architecture, colors, and materials, and to identify potential design or compatibility issues before production begins
- Helps assess visibility and placement (how visible the sign is from the road or sidewalk, whether it is obstructed by trees or other features, whether it is positioned for maximum visibility)
- Useful for obtaining approval from stakeholders (building owners, landlords, design review boards, historic preservation commissions, zoning officials) who need to see how the sign will look on the specific building before approving it
- Can be used to demonstrate compliance with local sign regulations (size, height, setback, projection) by showing the sign in context with dimensions and reference points
- Helps prevent costly installation issues (e.g., discovering that the sign is too large for the available space, or that the mounting location is not suitable, before the sign is fabricated and shipped to the site)
Limitations of contextual renderings:
- Most time-consuming and expensive type of sign proof (requires a high-quality photograph of the site, 3D modeling of the sign, and careful image editing to match the perspective, lighting, and shadows of the original photograph; typically 4–8 hours of design time for a standard contextual rendering)
- Requires a high-quality, suitable photograph of the site (taken from the desired viewpoint, with good lighting and minimal obstructions); if a suitable photograph is not available, the buyer must provide one or the designer must create a generic building context (less accurate)
- Static images (showing the sign from the viewpoint of the original photograph); to see the sign from different angles, multiple photographs and renderings are required
- May not perfectly match the final sign or site (the rendering is an approximation; the physical sign may look slightly different due to material variations, lighting conditions, or fabrication limitations, and the site may change between the time the photograph is taken and the sign is installed)
- Requires skilled 3D designers with experience in photo compositing and image editing (not all sign manufacturers offer high-quality contextual rendering services)
4. Interactive 3D Models and Virtual Reality (VR) Proofs
Interactive 3D models and virtual reality (VR) proofs are the most advanced type of sign design visualization, allowing buyers to view and interact with a 3D model of the sign in real time, rotating it, zooming in/out, changing materials/colors/illumination options, and even “walking through” a virtual environment to see the sign from different angles and distances. Interactive 3D models are typically created using 3D modeling software and viewed in a web browser (using WebGL or similar technology) or in a dedicated 3D viewer application, while VR proofs use a VR headset to immerse the buyer in a virtual environment where they can see the sign at full scale in its intended location. Interactive 3D models and VR proofs are still relatively new in the sign industry and are typically used for large, complex, or high-value signage projects where extensive stakeholder review and approval is required.
Advantages of interactive 3D models and VR proofs:
- Most immersive and interactive type of sign proof, allowing buyers to view the sign from any angle, zoom in/out, and explore the sign in real time, providing a comprehensive understanding of the sign’s 3D appearance
- Allows real-time changes to materials, colors, finishes, and illumination options, enabling buyers to compare different design options and make informed decisions quickly (without waiting for multiple static renderings to be created)
- VR proofs provide a true sense of scale and presence, allowing buyers to see the sign at full size in its intended location and assess how it looks from different distances and viewpoints (e.g., from the road, from the sidewalk, up close)
- Useful for large, complex, or high-value signage projects with multiple stakeholders (architects, designers, building owners, landlords, regulatory boards) who need to review and approve the sign design collaboratively
- Can reduce the number of design revisions and approval cycles by allowing stakeholders to explore and understand the design more thoroughly before providing feedback
- Can be used for marketing and promotional purposes (e.g., showing a proposed sign to investors, tenants, or customers in an immersive, engaging way)
Limitations of interactive 3D models and VR proofs:
- Most time-consuming and expensive type of sign proof (requires advanced 3D modeling, interactive programming, and VR development; typically 8–20+ hours of design and development time for a standard interactive model, more for VR proofs)
- Requires specialized software and hardware (3D modeling software, game engines, VR headsets) and skilled designers/developers with experience in interactive 3D and VR development (very few sign manufacturers offer high-quality interactive 3D or VR proof services)
- May be overkill for most standard sign projects, where static 3D renderings or contextual renderings are sufficient and more cost-effective
- May have technical limitations (file size, loading time, compatibility with different devices/browsers, VR headset comfort) that can affect the user experience
- Still a relatively new and unproven technology in the sign industry, with limited adoption and standardization
5. Physical Samples and Prototypes
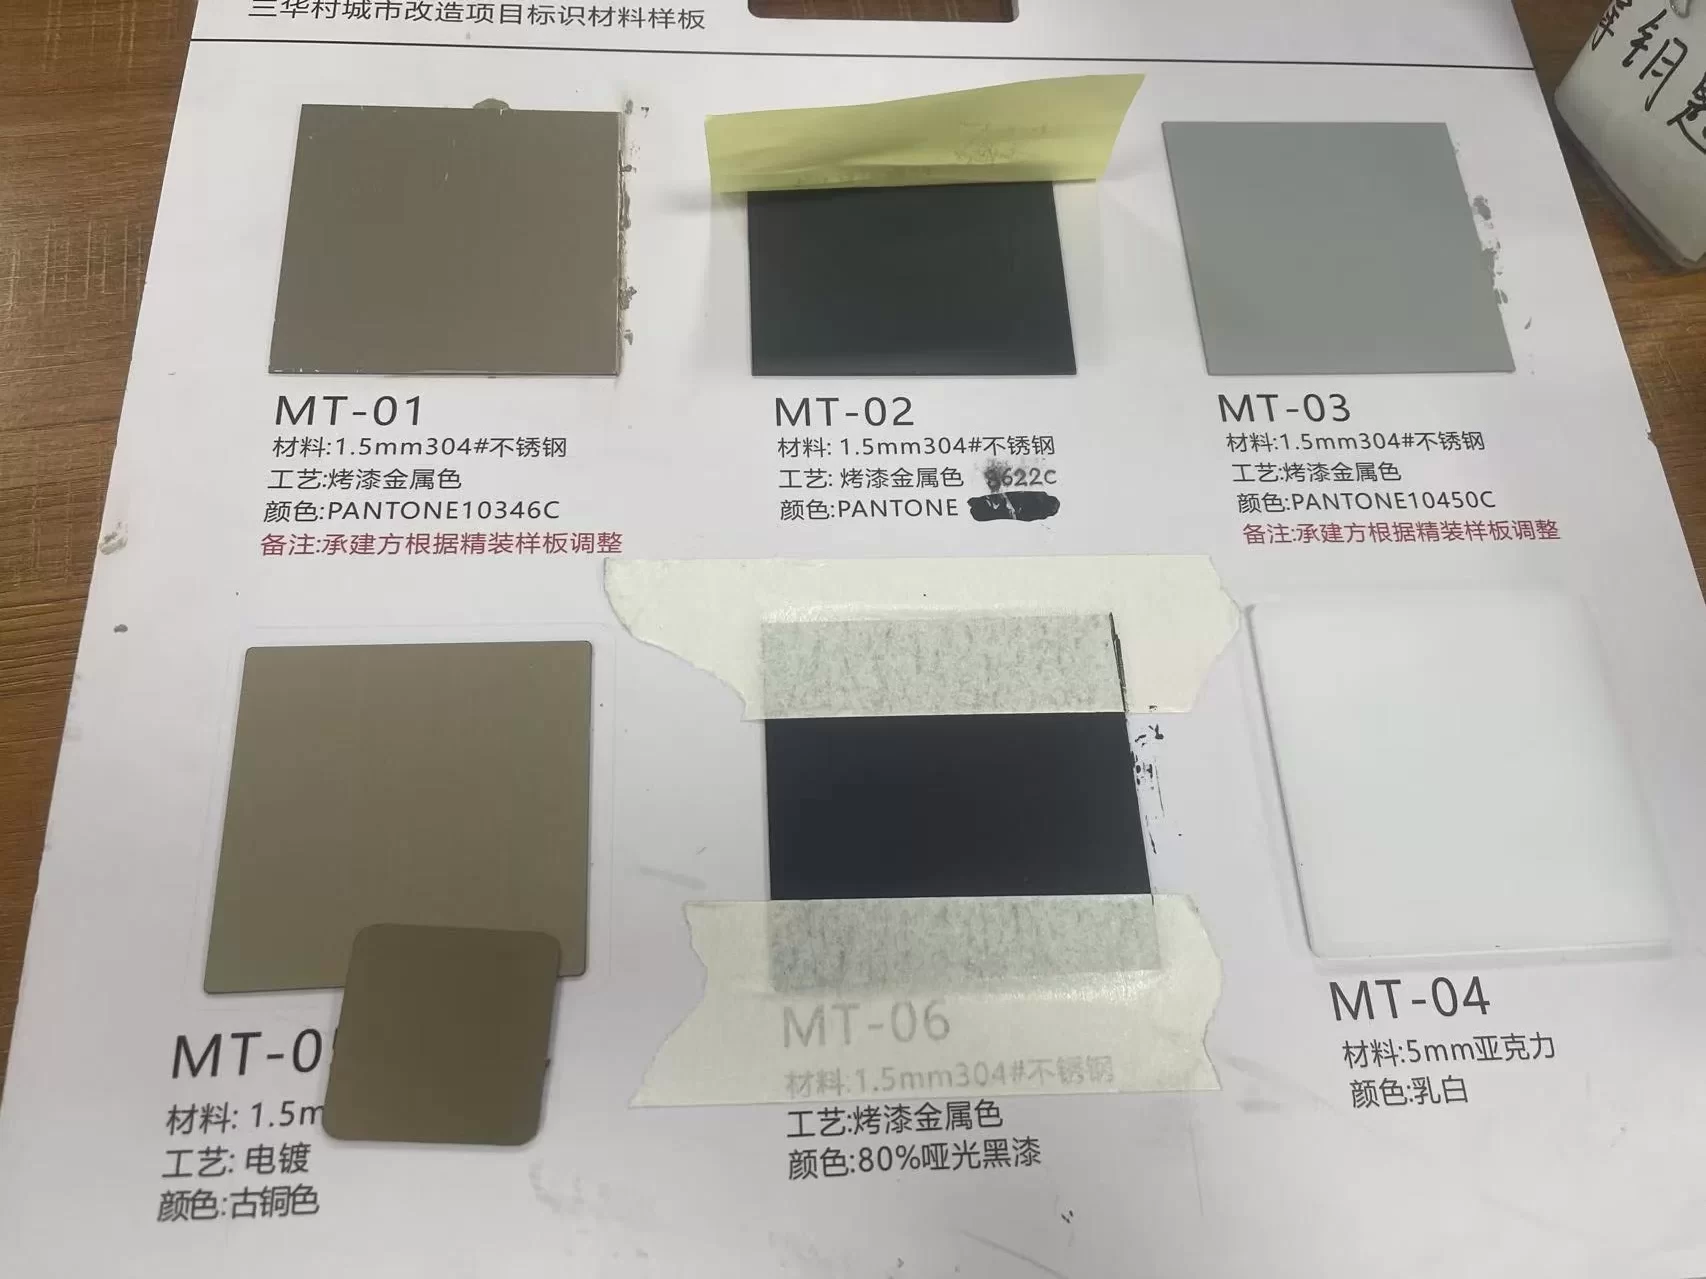
While not a digital rendering, physical samples and prototypes are an important form of design proof for custom signage, providing the most accurate representation of the final sign’s materials, colors, finishes, and illumination. Physical samples may include material swatches (painted metal chips, acrylic color samples, brushed/polished metal swatches), finish samples (powder coat colors, anodized finishes, wood stains), or a full physical prototype of the sign (or a representative section of it) produced using the same materials, processes, and finishes as the bulk order. Physical samples and prototypes are particularly valuable for color-critical projects, high-value signs, or first-time orders with a new manufacturer, where the buyer wants to verify the actual materials and finishes before approving full production. Our guide to sign sampling and prototyping provides detailed information on physical samples and prototypes.
Advantages of physical samples and prototypes:
- Most accurate representation of the final sign’s materials, colors, finishes, and illumination (no digital approximation—you see and touch the actual materials)
- Allows verification of color accuracy and finish quality in person, under actual lighting conditions (natural daylight, artificial light, nighttime illumination), which is critical for color-critical projects or brand consistency
- Provides a quality benchmark for the bulk order, ensuring the final signs match the approved sample in materials, finishes, and quality
- Useful for testing functionality (illumination uniformity, structural integrity, mounting method) for complex or custom signs
- Helps prevent costly production errors by allowing the buyer to verify and approve the actual materials and finishes before full production begins
Limitations of physical samples and prototypes:
- Most expensive and time-consuming type of proof (a full prototype may cost $100–$500+ and take 7–20 business days to produce and ship, particularly for international orders)
- May not be practical for very large signs (a representative section may be produced instead of a full-size prototype)
- Does not show the sign in context (how it will look installed on the building or in its intended environment) unless the prototype is temporarily installed on-site (which may not be practical)
- May not be necessary for simple, standard sign designs where the buyer is familiar with the materials and finishes and digital renderings are sufficient
How 3D Renderings Prevent Production Errors
One of the most valuable benefits of 3D sign rendering and design visualization is its ability to prevent costly production errors by identifying issues and design changes early in the process, before any materials are cut or fabricated. Production errors in custom signage can be extremely costly, resulting in rework, material waste, delayed delivery, additional shipping costs, and in some cases, complete re-fabrication of the sign. By catching these errors at the rendering stage (when changes are fast and inexpensive to make), 3D visualization can save significant time and money and ensure the final sign is correct the first time. The following are the most common production errors that 3D renderings help prevent:
1. Incorrect Dimensions and Proportions
One of the most common and costly production errors is incorrect dimensions or proportions—either the overall sign size is wrong, or individual elements (letter height, stroke width, logo size, spacing) are not to scale. 2D drawings may show dimensions, but it can be difficult for buyers to visualize how those dimensions translate to a 3D sign installed on a building. A 3D rendering (particularly a contextual rendering showing the sign on the actual building) makes dimension and proportion issues immediately visible—for example, discovering that the sign is too large for the available facade space, that the letters are too small to be read from the road, or that the logo is disproportionately large compared to the text. By identifying these issues at the rendering stage, the dimensions can be adjusted before production, preventing the costly mistake of fabricating a sign that is the wrong size or proportion.
2. Color and Material Mismatches
Color and material mismatches are another common source of production errors and buyer dissatisfaction. A buyer may approve a 2D color mockup only to find that the actual physical materials look different in real life—for example, the powder coat color is slightly different from the mockup, the brushed aluminum finish has a different texture than expected, or the acrylic color appears different when illuminated (particularly for backlit/halo-lit signs, where the color and brightness of the glow can be difficult to visualize from a 2D drawing). A 3D rendering with realistic materials, textures, and lighting (including illumination effects for lit signs) provides a much more accurate representation of how the final sign will look, helping buyers identify potential color or material issues before production. For color-critical projects, 3D renderings should be combined with physical material samples (paint chips, acrylic samples, metal swatches) to ensure the final colors and finishes match the buyer’s expectations.
3. Illumination Effect Issues
For illuminated signs (front-lit channel letters, backlit/halo-lit letters, edge-lit signs, light boxes, push-through letters), visualizing the illumination effect is one of the most difficult aspects of the design process, and one of the most common sources of buyer disappointment. A 2D drawing may indicate that a sign is “backlit” or “halo-lit,” but it cannot accurately convey the brightness, color, spread, and overall effect of the illumination—for example, how far the halo glow extends from the letters, how uniform the front illumination is across large letters, or how the edge-lit effect looks on a specific acrylic color. A 3D rendering with accurate lighting and illumination effects (simulating LED brightness, color temperature, light spread, and shadows) provides a much more realistic representation of how the illuminated sign will look at night, helping buyers identify potential illumination issues (e.g., the halo is too bright/too dim, the front illumination has hot spots, the edge-lit effect is not as expected) and adjust the design (LED type, density, color temperature, letter spacing, wall offset) before production. Our guide to push-through letters and channel letter guides provide additional information on illumination options and effects.
4. Building Compatibility and Installation Issues
Another common production error is discovering, after the sign is fabricated and shipped to the site, that it does not fit or cannot be installed on the intended building facade—for example, the sign is too large for the available space, the mounting method is not suitable for the facade material (EIFS, glass, drywall), the electrical connection point is in the wrong location, or the sign conflicts with other building features (windows, doors, awnings, lights). A contextual 3D rendering showing the sign installed on the actual building facade (with accurate dimensions, scale, and mounting details) helps identify these compatibility and installation issues before production, allowing the design or mounting method to be adjusted to fit the specific building. Contextual renderings are particularly valuable for signs installed on non-standard or complex facades (curved walls, glass curtain walls, historic buildings, EIFS/stucco), where installation compatibility is critical.
5. Design and Branding Inconsistencies
For multi-location businesses or projects with multiple signs, ensuring design and branding consistency across all signs is critical, but it can be difficult to achieve with 2D drawings alone. A 3D rendering (or a set of 3D renderings showing all signs in the project) allows buyers to review and compare all signs side by side, identifying any inconsistencies in design, materials, colors, typography, or illumination before production begins. For example, discovering that the storefront sign uses a slightly different font than the monument sign, that the pylon sign color does not match the building-mounted sign, or that the illumination color temperature is inconsistent between signs. By identifying these inconsistencies at the rendering stage, the designs can be adjusted to ensure a cohesive, consistent signage program across all locations and sign types.
6. Regulatory and Permit Compliance Issues
Signs are subject to local sign codes and zoning regulations that govern size, height, setback, projection, illumination, and placement. A sign that does not comply with these regulations may be denied a permit, required to be modified after installation, or even forced to be removed, resulting in significant costs and delays. A contextual 3D rendering showing the sign in its actual location (with dimensions, height, setback, and projection clearly indicated) can help identify potential regulatory compliance issues before production, allowing the design to be adjusted to comply with local regulations. For example, discovering that the sign exceeds the maximum allowed height or projection, that the illumination exceeds local brightness limits, or that the sign is too close to a property line or intersection. Contextual renderings are also useful for demonstrating compliance to building departments, zoning officials, or design review boards during the permit application process, potentially speeding up permit approval. Our guide to outdoor sign permits and zoning provides detailed information on sign regulations and the permit process.
7. Stakeholder Approval and Miscommunication
Custom signage projects often involve multiple stakeholders—business owners, marketing teams, architects, designers, building owners, landlords, property managers, and regulatory boards—each with different perspectives, priorities, and levels of understanding of sign design. 2D drawings can be difficult for non-experts to understand, leading to miscommunication, misunderstandings, and delayed approvals. A 3D rendering (particularly a contextual rendering) provides a clear, visual, easily understandable representation of the proposed sign that all stakeholders can understand and evaluate, regardless of their technical expertise. This helps streamline the approval process, reduce miscommunication, and ensure all stakeholders have a shared, accurate understanding of the final sign before production begins. For projects requiring approval from landlords, design review boards, or historic preservation commissions, a high-quality 3D rendering can be the difference between approval and denial, as it allows the reviewing body to see exactly how the sign will look on the building.
Best Practices for Using 3D Renderings in Sign Projects
To maximize the benefits of 3D sign rendering and design visualization, follow these best practices when working with a sign manufacturer or designer on your custom signage project:
1. Request 3D Renderings for Complex or High-Value Signs
While 2D proofs may be sufficient for simple, standard sign designs (e.g., a basic flat cut letter sign or a standard light box), 3D renderings are highly recommended for complex, custom, or high-value signs where visualizing the final appearance is critical. Signs that benefit most from 3D renderings include:
- Illuminated signs (channel letters, push-through letters, light boxes, edge-lit signs, halo-lit signs) where visualizing the illumination effect is important
- 3D signs (channel letters, dimensional letters, monument signs, pylon signs) where the 3D depth and appearance are difficult to visualize from 2D drawings
- Large or complex signs (multi-tenant pylon signs, custom monument signs, building-wide signage programs) where multiple elements and dimensions must be coordinated
- Signs installed on non-standard or complex facades (curved walls, glass curtain walls, historic buildings, EIFS/stucco) where installation compatibility is critical
- High-value signs (bronze plaques, stainless steel signs, custom-designed signs) where production errors would be costly to correct
- Projects requiring approval from multiple stakeholders (landlords, design review boards, historic preservation commissions) where a clear, visual representation is needed for approval
For simple, standard signs, 2D proofs may be sufficient, but it is still worth asking the manufacturer if they offer 3D renderings as an optional add-on—many manufacturers include basic 3D renderings at no additional cost for custom sign projects, and the added confidence and error prevention can be well worth it even for simpler signs.
2. Provide Detailed Information and Reference Materials
To create accurate, useful 3D renderings, the designer needs detailed information about the sign design, materials, and installation location. Provide as much of the following information as possible when requesting a 3D rendering:
- Sign design specifications: The sign type, dimensions, text/logo, font, colors, materials, finishes, illumination type (front-lit, backlit, edge-lit), and any special features or custom requirements. If you have a logo or design file, provide it in vector format (AI, EPS, SVG, PDF) for the best results.
- Building/site photographs: For contextual renderings, provide high-quality photographs of the building or site where the sign will be installed, taken from the desired viewpoint (e.g., from the road, from the sidewalk, straight on to the facade). Photographs should be taken in good lighting (daytime, overcast is best for even lighting) with minimal obstructions (people, cars, trees). If possible, provide photographs from multiple angles (front, side, perspective) so the designer can choose the best viewpoint or create multiple renderings.
- Building dimensions and details: For contextual renderings, provide the building’s dimensions (width, height, floor-to-floor height), window and door locations, and any architectural features (awnings, columns, trim) that will affect the sign’s placement or appearance. If you have architectural drawings or elevations of the building, provide them for accurate scaling and placement.
- Material and finish references: If you have specific material or finish requirements (e.g., a specific Pantone color for powder coating, a specific brushed aluminum finish, a specific acrylic color), provide the manufacturer’s color code or a physical sample/photograph so the designer can accurately match the material in the rendering.
- Reference images: If you have seen signs you like (or dislike), provide reference images to help the designer understand your aesthetic preferences and design direction. Reference images can be photographs of existing signs, images from magazines or websites, or sketches/drawings of your desired design.
- Budget and timeline: Provide your budget and timeline for the project so the designer can recommend the appropriate level of rendering (basic 3D, contextual, interactive) and ensure the rendering process fits within your schedule.
The more detailed and accurate information you provide, the more accurate and useful the 3D rendering will be, and the fewer revisions will be needed to achieve the desired result.
3. Review Renderings Carefully and Provide Specific Feedback
When you receive a 3D rendering, review it carefully and provide specific, detailed feedback to the designer. Vague feedback (e.g., “it doesn’t look right” or “can you make it better?”) is difficult for the designer to act on and may result in multiple revision cycles. Instead, provide specific, actionable feedback that identifies exactly what you want changed and why. For example:
- “The letters look too small—can you increase the letter height from 12 inches to 16 inches?”
- “The backlit halo effect is too bright and extends too far from the letters—can you reduce the LED brightness and increase the wall offset from 1 inch to 2 inches to create a softer, more subtle halo?”
- “The sign looks too large for the building facade—can you reduce the overall width from 8 feet to 6 feet and show me how it looks?”
- “The brushed aluminum finish looks too shiny in the rendering—can you make it a more matte, satin finish?”
- “The sign is mounted too high on the building—can you lower it so the bottom of the sign is 10 feet above the sidewalk instead of 14 feet?”
- “The color of the acrylic looks too orange when illuminated—can you show me how it would look with a cooler white LED (5000K) instead of warm white (3000K)?”
When reviewing the rendering, pay particular attention to the following elements, as these are the most common sources of errors and misunderstandings:
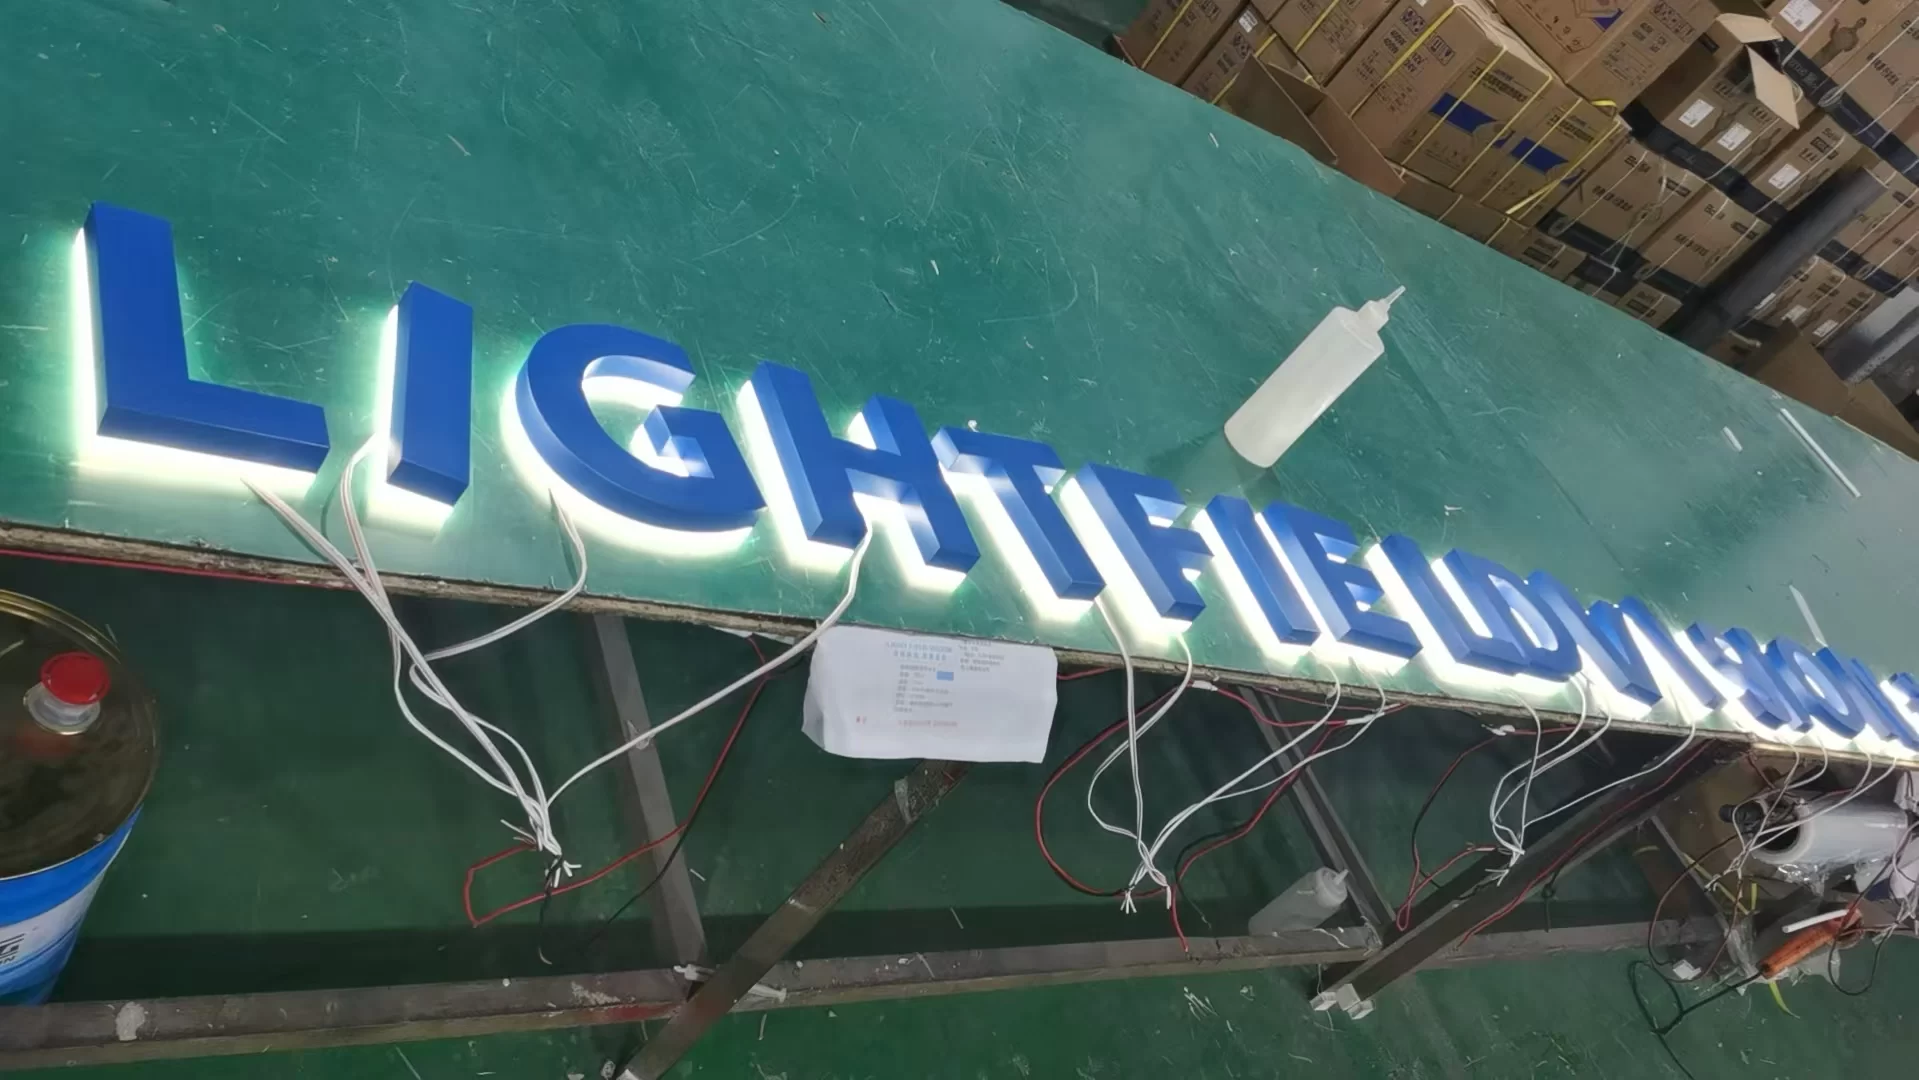
- Dimensions and proportions: Verify that the sign size, letter height, stroke width, logo size, and spacing match your specifications and look appropriate in context.
- Colors and materials: Verify that the sign colors, materials, and finishes match your brand standards and desired aesthetic, and that they look realistic in the rendering.
- Illumination effect: For illuminated signs, verify that the illumination type, brightness, color, and effect match your expectations and look realistic in the rendering (both day and night views if provided).
- Placement and mounting: Verify that the sign is placed in the correct location on the building, at the correct height, and with the correct mounting method, and that it does not conflict with other building features (windows, doors, awnings, lights).
- Context and visibility: For contextual renderings, verify that the sign looks appropriate in its environment, that it is visible from the intended viewpoint (road, sidewalk), and that it does not look out of place or disproportionate compared to the building and surrounding elements.
- Text and logo accuracy: Verify that all text (business name, tagline, phone number, address) is correct and properly spelled, and that the logo is the correct version, properly proportioned, and free of errors or distortions.
Review the rendering with all relevant stakeholders (business partners, marketing team, architect, building owner, landlord) and consolidate their feedback before submitting it to the designer, to avoid multiple rounds of conflicting revisions.
4. Use Multiple Viewpoints and Day/Night Renderings
For complex or illuminated signs, a single 3D rendering from one viewpoint may not provide a complete understanding of the sign’s appearance. Request multiple renderings from different viewpoints and in different lighting conditions to ensure a comprehensive review:
- Multiple viewpoints: Request renderings from the front (elevation), side (profile), and a perspective view (showing the sign in 3D with depth and shadows) to understand the sign’s appearance from all angles. For contextual renderings, request renderings from the key viewpoints from which the sign will be viewed (e.g., from the road approaching the business, from the sidewalk in front of the store, from across the street).
- Day and night views: For illuminated signs, request both a daytime rendering (showing the sign’s materials, colors, and 3D appearance in natural light) and a nighttime rendering (showing the sign’s illumination effect, brightness, and color in darkness). This allows you to evaluate the sign’s appearance in both conditions and ensure the illumination effect meets your expectations.
- Close-up and wide views: For signs with detailed elements (logos, text, decorative features), request a close-up rendering showing the details clearly, in addition to a wide view showing the sign in context. This allows you to evaluate both the overall design and the fine details.
- Design option comparisons: If you are considering multiple design options (e.g., front-lit vs. halo-lit illumination, brushed aluminum vs. black powder coating, 12-inch vs. 16-inch letters), request side-by-side renderings of each option to compare them directly and make an informed decision. This is much more effective than trying to compare separate renderings or 2D drawings.
While additional renderings may increase the design time and cost slightly, the added confidence and error prevention they provide is well worth the investment, particularly for complex or high-value signs.
5. Combine 3D Renderings with Physical Samples for Critical Projects
While 3D renderings provide an excellent visual representation of the proposed sign, they are still digital approximations and may not perfectly match the final physical sign, particularly for colors, materials, and illumination effects. For color-critical projects, high-value signs, or first-time orders with a new manufacturer, combine 3D renderings with physical samples and prototypes to verify the actual materials, colors, and finishes before approving full production. Physical samples may include:
- Material swatches: Painted/powder-coated metal chips, acrylic color samples, brushed/polished metal swatches, wood stain samples—provided by the manufacturer for your review and approval before production.
- Finish samples: Samples of specific finishes (e.g., matte vs. glossy powder coat, brushed vs. polished stainless steel, frosted vs. clear acrylic) to verify the desired texture and appearance.
- Color samples: For custom colors, a physical sample of the color (painted chip, acrylic sample, powder coat sample) matched to your brand’s Pantone or color standard, verified under both natural and artificial light.
- Illumination samples: For illuminated signs, a small illuminated sample (e.g., a sample letter or section of the sign) showing the actual LED color, brightness, and illumination effect, verified in a dark environment to simulate nighttime conditions.
- Full prototype: For complex, custom, or high-value signs, a full physical prototype of the sign (or a representative section) produced using the same materials, processes, and finishes as the bulk order, allowing you to verify the actual appearance, quality, and functionality before full production. Our guide to sign sampling and prototyping provides detailed information on physical prototypes.
By combining 3D renderings (for overall design, context, and 3D appearance) with physical samples (for accurate color, material, and finish verification), you can ensure the final sign matches your expectations in every respect and avoid costly surprises when the sign is delivered and installed.
6. Obtain Written Final Approval Before Production
Once you are satisfied with the 3D rendering (and any physical samples), obtain written final approval from all relevant stakeholders before the manufacturer begins production. Written final approval should include:
- The approved 3D rendering(s) and any 2D technical drawings, with version numbers and dates
- Any approved physical samples, with sample identification numbers and approval dates
- A clear statement that the design, materials, colors, dimensions, illumination, and placement are approved for production
- Any final notes, conditions, or exceptions (e.g., “approving the design with the understanding that the final powder coat color will match the approved sample #123”)
Written final approval is critical because, once approved, the manufacturer proceeds with production based on the approved design, and any changes requested after approval may incur additional costs and delays. By ensuring all stakeholders have reviewed and approved the 3D rendering (and physical samples) in writing before production, you establish a clear reference point for the final sign and minimize the risk of disputes or misunderstandings later. Our guide to sign design approval and proofs provides detailed information on the design approval process and best practices.
Hongbo Sign 3D Rendering and Design Proof Services
At Hongbo Sign, we understand the importance of accurate, informative design proofs and 3D renderings in ensuring customer satisfaction and preventing costly production errors. That’s why we offer comprehensive 3D rendering and design proof services for all custom sign projects, from simple storefront signs to complex multi-signage programs for new buildings. Our in-house design team uses industry-leading 3D modeling and rendering software to create photorealistic, accurate renderings that help our customers visualize their signs before production and make informed decisions with confidence.
- Free 3D renderings for custom sign projects: We include free basic 3D renderings for all custom sign projects, providing a photorealistic representation of the proposed sign from the front and a perspective view, with accurate materials, colors, and illumination effects. There is no additional charge for standard 3D renderings, and we provide up to 3 rounds of revisions at no cost to ensure the design meets your expectations.
- Contextual / site-specific renderings: For projects where visualizing the sign in its actual environment is critical, we offer contextual renderings (photo composites) showing the sign installed on your specific building or site, using photographs you provide. Our designers carefully match the perspective, scale, lighting, and shadows of the original photograph to create a realistic, informative rendering that shows exactly how the sign will look in its intended location. Contextual renderings are particularly valuable for obtaining landlord, design review board, or historic preservation commission approval, and for identifying installation compatibility issues before production.
- Day and night illumination renderings: For illuminated signs, we provide both daytime renderings (showing the sign’s materials, colors, and 3D appearance in natural light) and nighttime renderings (showing the sign’s illumination effect, brightness, and color in darkness). Our designers accurately simulate LED illumination effects, including front-lit, backlit/halo-lit, edge-lit, and RGB/color-changing illumination, helping you visualize how the sign will look at night and make informed decisions about LED type, density, color temperature, and placement.
- Multiple viewpoints and design option comparisons: We provide renderings from multiple viewpoints (front, side, perspective, close-up) to give you a comprehensive understanding of the sign’s 3D appearance. If you are considering multiple design options (e.g., different materials, colors, illumination types, sizes), we can create side-by-side comparison renderings to help you evaluate and compare options directly and make an informed decision.
- Detailed technical drawings and specifications: In addition to 3D renderings, we provide detailed 2D technical drawings and specifications for every custom sign project, including dimensioned elevations, material callouts, finish specifications, LED specifications (color temperature, density, wattage), power supply specifications, mounting details, and wire exit locations. These technical drawings ensure the sign is fabricated to your exact specifications and provide a reference for installation and maintenance.
- Physical samples and prototypes: For color-critical projects, high-value signs, or first-time orders, we offer physical material samples (paint chips, acrylic samples, metal swatches) and full pre-production prototypes to verify the actual materials, colors, finishes, and illumination before full production. Sample fees are 100% refundable from bulk orders placed within 60 days. Our guide to sign sampling and prototyping provides detailed information on our sampling process.
- Interactive design review and revision process: We work closely with you throughout the design and proofing process, providing timely responses to your feedback and revised renderings within 1–3 business days (depending on the complexity of the changes). We use a collaborative, iterative approach to ensure the final design meets your expectations and that all potential issues are identified and resolved before production begins.
- Stakeholder approval support: We provide high-resolution renderings and technical drawings suitable for presentation to stakeholders (building owners, landlords, design review boards, historic preservation commissions, zoning officials), and we can adjust the format and level of detail to meet specific approval requirements. Our contextual renderings have helped many customers obtain timely approval from landlords and regulatory boards by providing a clear, visual representation of the proposed sign on the actual building.
- Quality assurance and production accuracy: Once the design is approved, our production team uses the approved 3D renderings and technical drawings as the reference for all fabrication decisions, ensuring the final sign matches the approved design in materials, dimensions, colors, finishes, and illumination. Every sign undergoes a comprehensive quality inspection before shipment, including a comparison against the approved design, and we provide photos and videos of the completed sign (illuminated and unilluminated) for your final review before shipment.
We believe that thorough design visualization and proofing is the foundation of a successful custom sign project, and we invest the time and effort to ensure every customer has a clear, accurate understanding of their sign before production begins. Our goal is to eliminate surprises, prevent costly errors, and ensure the final sign exceeds your expectations when installed.
Ready to visualize your custom sign with a photorealistic 3D rendering? Contact us today for a free consultation and design proof. Our design team will work with you to create a detailed, accurate 3D rendering of your proposed sign, helping you visualize the final result and make informed decisions with confidence.
Frequently Asked Questions
Q: What is a 3D sign rendering?
A: A 3D sign rendering is a photorealistic digital simulation of a proposed signage design, created using 3D modeling and rendering software. It accurately represents the sign’s stereoscopic structure, material textures, lighting performance, shadow layering, and environmental context. 3D renderings allow stakeholders to preview the final on-site display effect before production begins, helping to identify visual conflicts and structural defects early.
Q: How is a 3D rendering different from a digital proof?
A: A digital proof is a 2D computer-generated drawing showing layout, dimensions, color codes, and specifications—it is fast and cost-effective but cannot represent 3D depth, lighting effects, or material texture. A 3D rendering is a photorealistic simulation that restores stereoscopic appearance, LED lighting performance, material texture, and environmental context. 3D renderings are recommended for complex illuminated signs, large-scale outdoor signage, and high-value brand projects.
Q: Can I use a 3D rendering for client approval?
A: Yes, 3D renderings are excellent for client approval and internal stakeholder presentations because they provide a realistic preview of the final product in its intended environment. However, a 3D rendering should be supplemented with a formal technical proof that specifies dimensions, materials, finishes, electrical specifications, and manufacturing details. The rendering communicates visual intent, while the technical proof defines production standards.